Building a Fiberglass Dinghy or Two
Outfitting
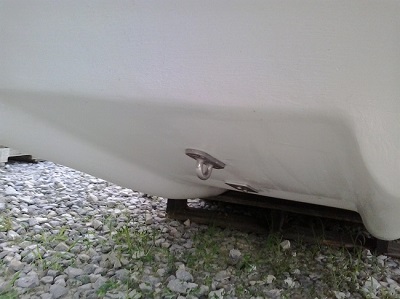


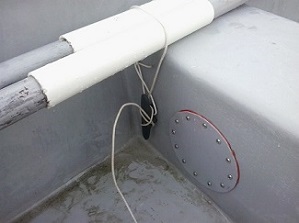
Tow eye. This has an aluminum backer on the inside. The backer is embedded in silicone to keep water from causing cavity corrosion.
NOTE
All of the parts when outfitting are embedded in silicone.
NOTE
All of the parts when outfitting are embedded in silicone.
Bow lifting eye with a aluminum backer on the outside. This is a piece of aluminum angle but there are stainless steel lifting pads available at any marine store.
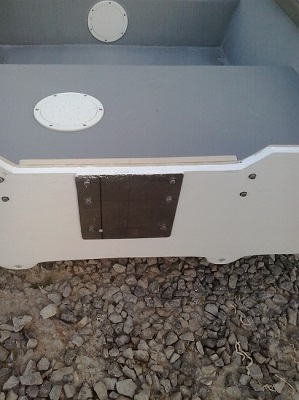
Here boatboard was installed to thicked up the transom for the motor.
There are lifting eyes in the back corners. They are made out of aluminum angle.
Boatboard is also called marine board or starboard. Other materials that could be used are pvc, hdmw or TrexDeck. What ever you use make sure it is UV protected.
There are lifting eyes in the back corners. They are made out of aluminum angle.
Boatboard is also called marine board or starboard. Other materials that could be used are pvc, hdmw or TrexDeck. What ever you use make sure it is UV protected.
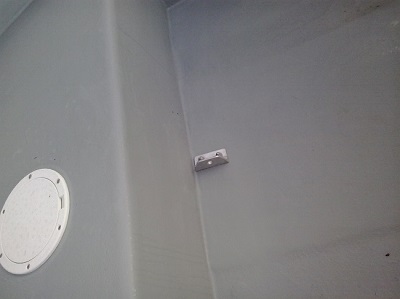
Eye for towing someone else and backer for lifting eye on the inside.
Aluminum plate bolted on. The bottom two bolts go through the boatboard that was fiberglassed onto the transom on the inside.
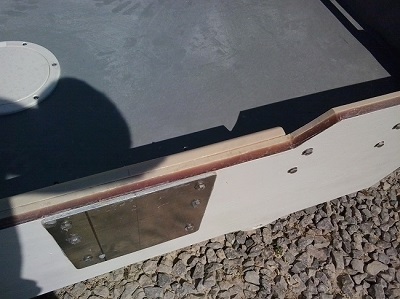
For the finished top on the transom, the boatboard was routed to a 45 and after it was installed the joint was filled with resin/cabasil.
And then gelcoated.
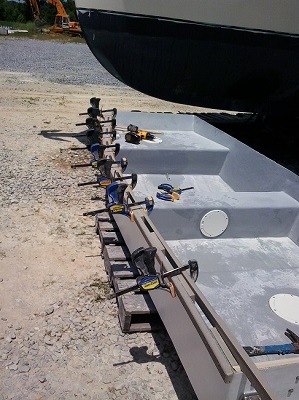
Now for the gunnels. I wanted to use boatboard but it was cost prohibitive and it only comes in eight foot lengths. Then I checked out using cypress, nobody wanted to sell it to me unless I bought a whole pallet full. So, I decided on Trex Deck, cheap at Lowes, made of recycled plastic so will not rot or need refinishing.
Ripped each piece into 3 pieces and then since the back is grooved I ran it through the saw to make it smooth, came out to about 5/8 inch thick by 1 3/4 wide. Routed the edges so they are not sharp.
They are installed with stainless steel flat head screws. When drilling do not drill the hole through the fiberglass too big because that is where most of the strength will come from. For ease of installation, clamp the outside piece and the inside blocks and screw them together. Then do the inside piece.
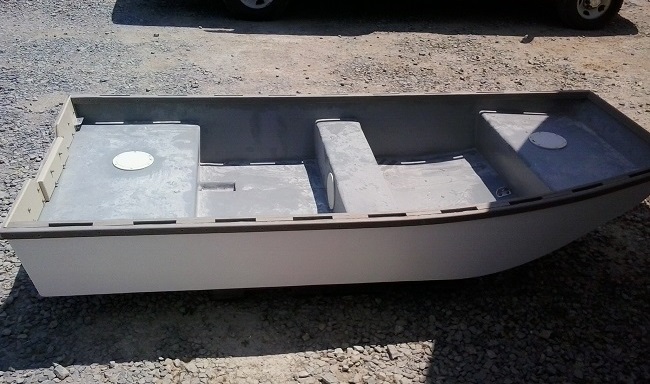
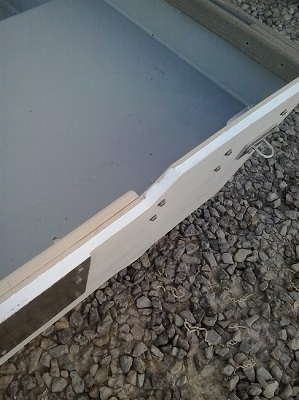
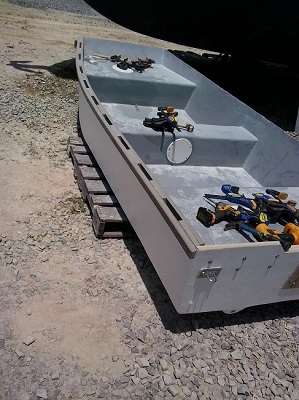
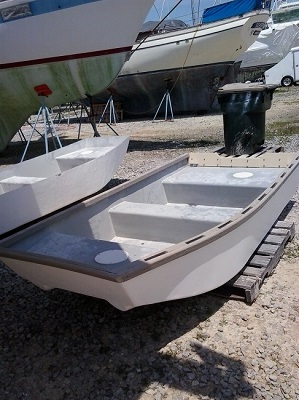
All complete. The piece across the bow does not have the spacers as along the sides.
After the boats were complete I drilled two 3/8 holes at the back of the back seat so any water would drain out and you would not have to sit in it.
After the boats were complete I drilled two 3/8 holes at the back of the back seat so any water would drain out and you would not have to sit in it.
Each compartment needs a access. I used 6 inch press-in type, should have used screw-in type. For some reason the one in the center seat was not tight.
Believe it or not these compartment will get water in them, don't know how but they do so place the access plates where it is the deepest part . On the bow, on the port side over the runner as close to the back edge as possible. On the stern on the port side over the runner as close to the forward edge as possible. On the center seat put it on the top of the seat over the runner centered fore and aft on the seat. Placed in these positions you can also get in a hand pump if it is necessary but a sponge should be all you need to dry them out. Wish I would have thought of these placements before I installed them. Definitely will change the center one to the top.
Believe it or not these compartment will get water in them, don't know how but they do so place the access plates where it is the deepest part . On the bow, on the port side over the runner as close to the back edge as possible. On the stern on the port side over the runner as close to the forward edge as possible. On the center seat put it on the top of the seat over the runner centered fore and aft on the seat. Placed in these positions you can also get in a hand pump if it is necessary but a sponge should be all you need to dry them out. Wish I would have thought of these placements before I installed them. Definitely will change the center one to the top.
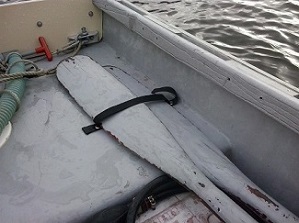
I always like anything in the boat tied in in case it gets flipped over or swamped. The gas tank, handpump, bailing can etc can be tied to the gunnel. For the oars I put in a strap on the back seat to slip the blades under and a small plastic cleat in the middle seat, aft side on the port side to run a string over and tie the oars in.